


Be Your Own Technician: DIY Fiber Optic Installation Guide
In the spirit of self-reliance and technical mastery, we’ve crafted this detailed guide to empower you to take control of your own network by installing fiber optic cables yourself. This comprehensive guide equips you to be your own technician, exploring the intricacies of fiber optic technology, the steps involved in the installation process, the tools required, and valuable tips to ensure a successful setup.
Why Opt for Fiber Optics?
Fiber optic cables have skyrocketed in popularity in recent years, becoming the backbone of our modern-day, data-driven society. But what exactly makes them a go-to choice over traditional copper cables?
Understanding Fiber Optic Technology
Fiber optic technology utilizes pulses of light to transmit data. These light signals are sent via a bundle of ultra-thin strands of glass or plastic known as optical fibers. Each strand is thinner than a human hair yet has the capacity to transmit terabytes of data over vast distances. Remarkably, the transmission of data via light signals results in minimal data loss, while also reducing the likelihood of electromagnetic interference, an issue that often plagues copper cables.
Benefits of Fiber Optics
- Higher bandwidth: Fiber optic cables provide a significantly higher bandwidth compared to copper cables. This means you can transfer more data, faster, and over longer distances.
- Durability: Optical fibers are resistant to many elements that typically affect copper cables such as temperature fluctuations, moisture, and electrical interference.
- Security: It’s incredibly challenging to tap into a fiber optic cable without disrupting the light signal, making these cables a safer choice for transmitting sensitive information.
Tools of the Trade: Essential Equipment for Fiber Optic Installation
Before you dive into the installation process, you’ll need to gather the necessary tools.
Fiber Optic Cables
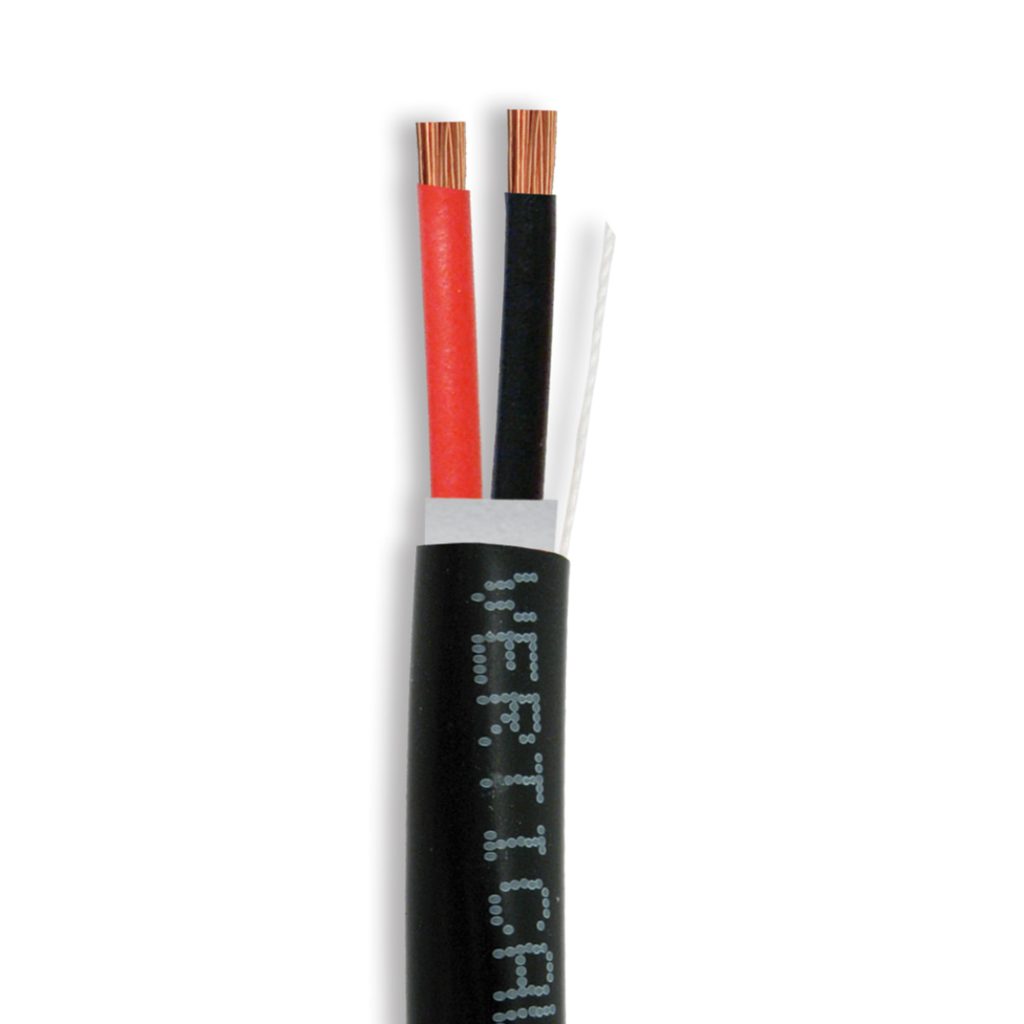
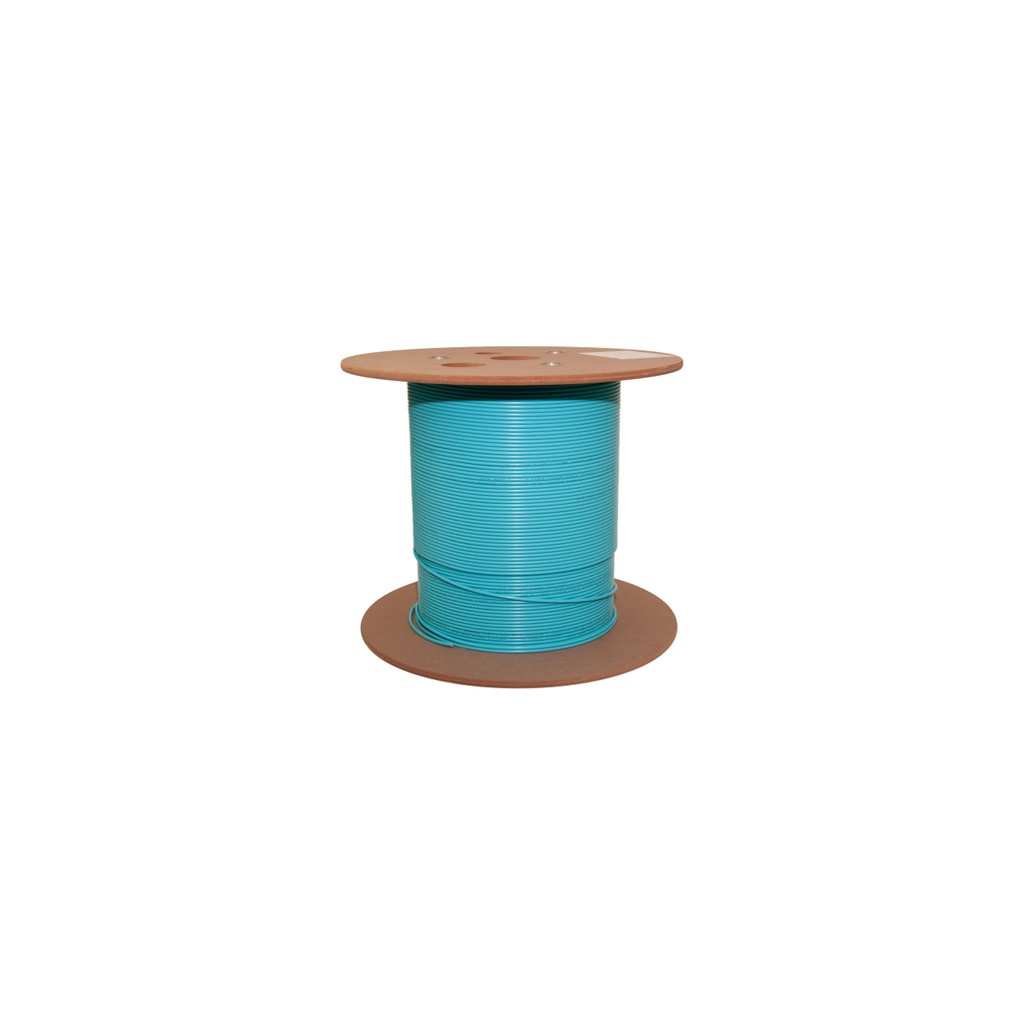
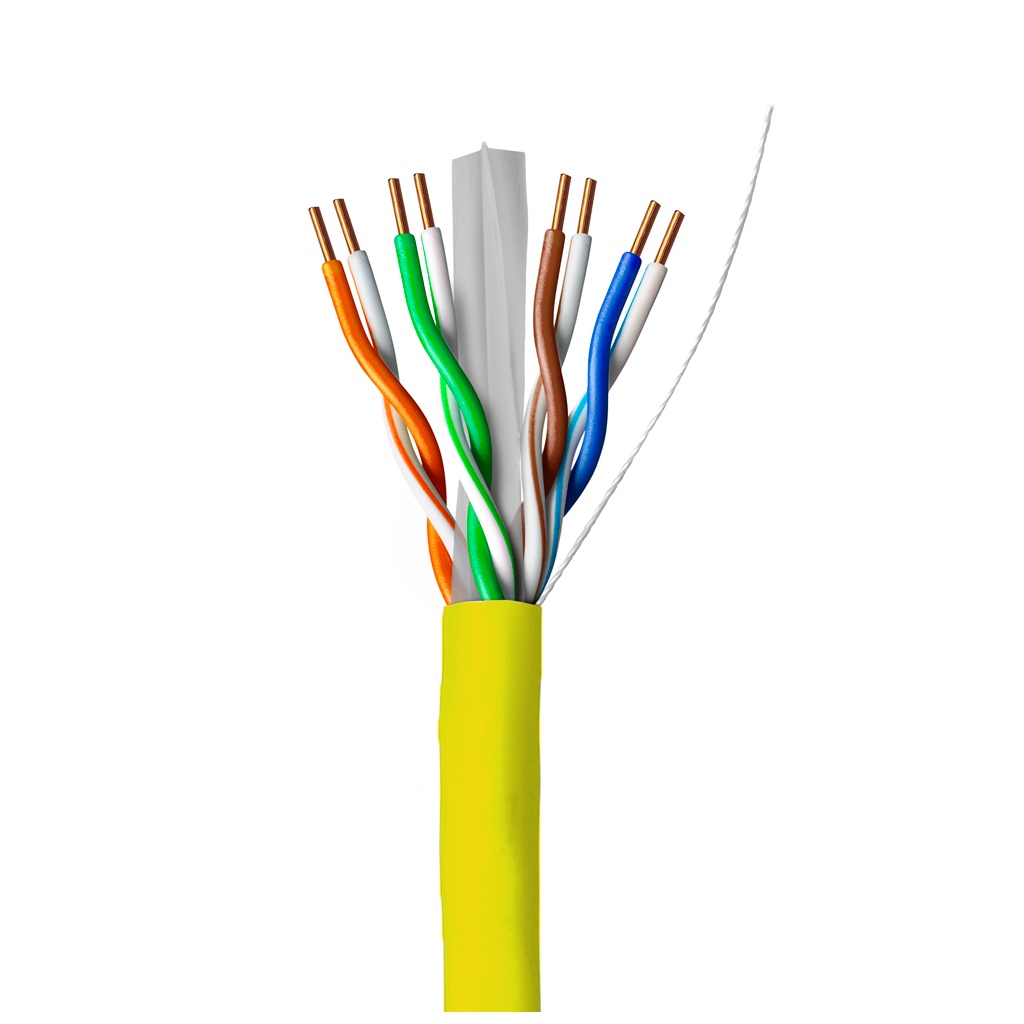
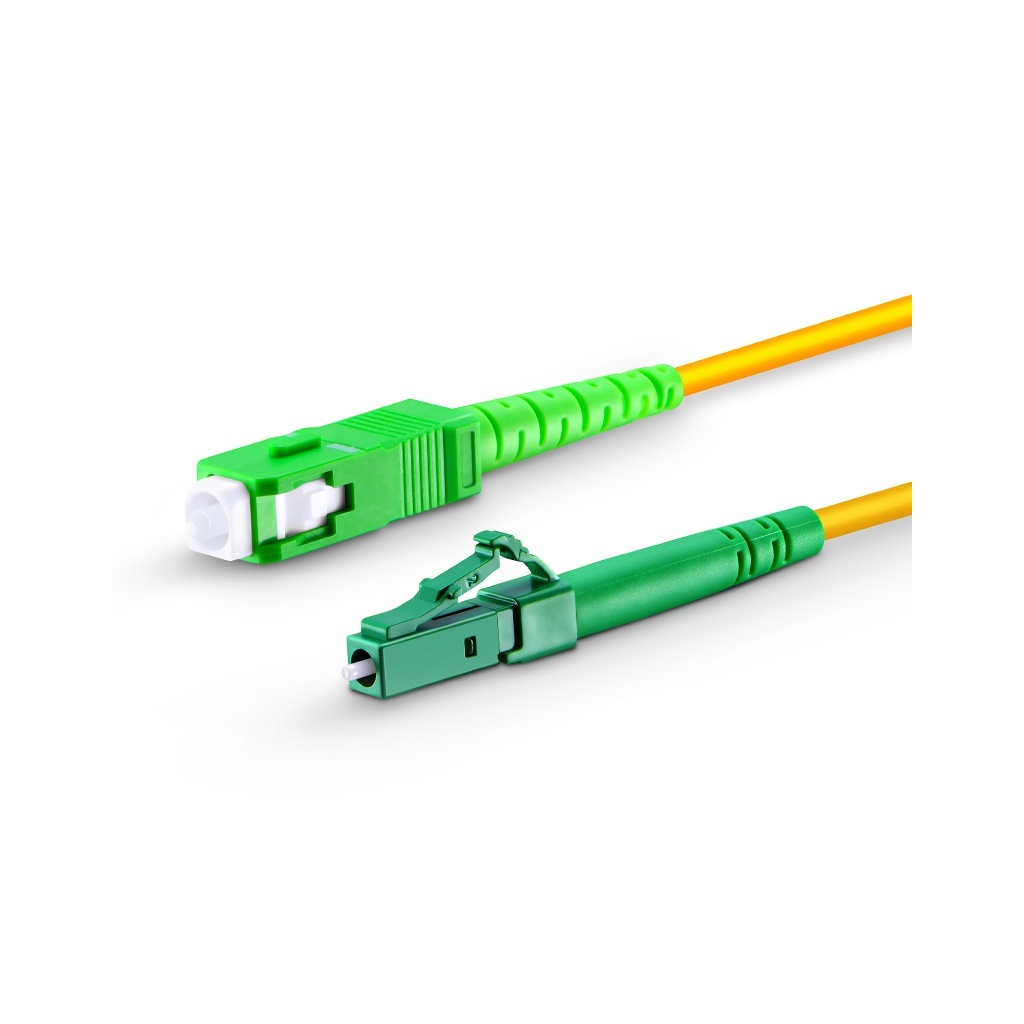
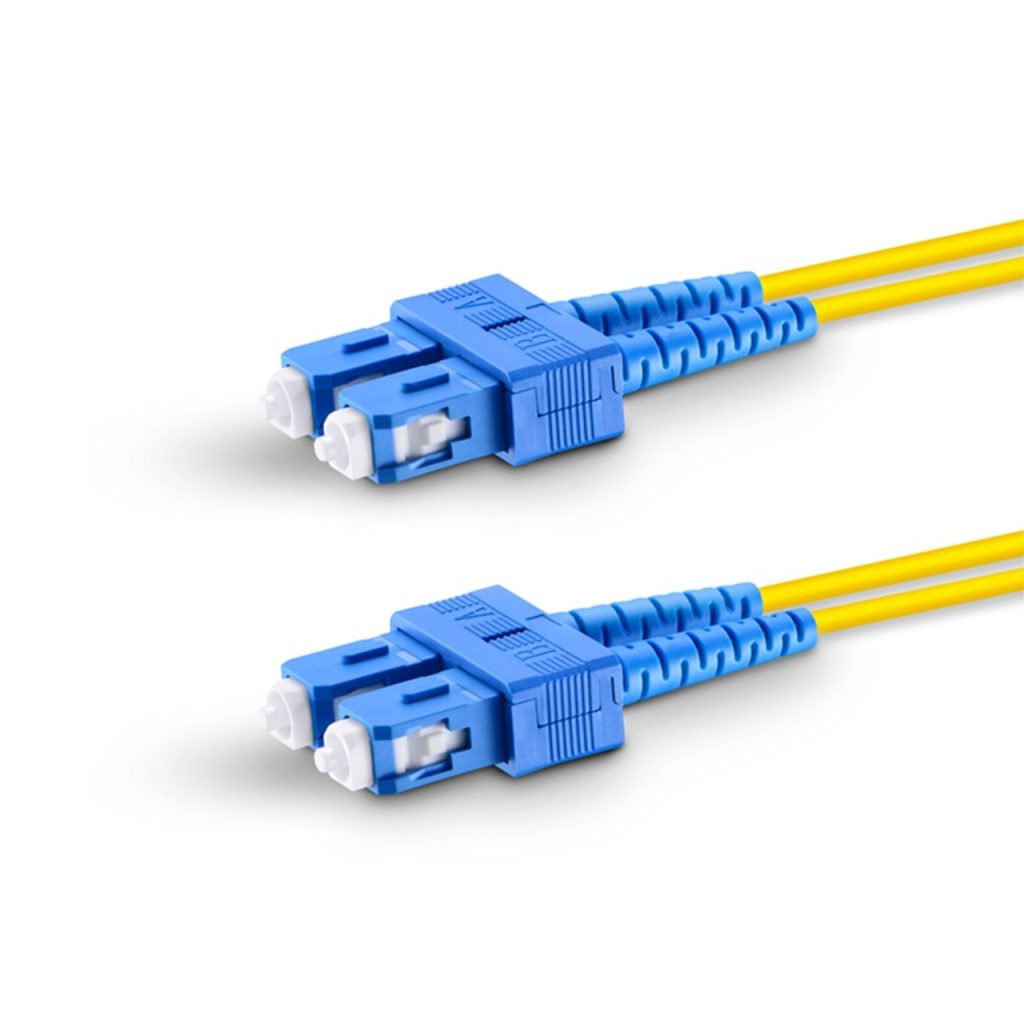
Your DIY fiber optic installation adventure begins with choosing the right fiber optic cable. The type of cable you select should depend on your specific networking needs. Common types include single-mode, multi-mode, and plastic optical fiber (POF).
Cable Installment Tools
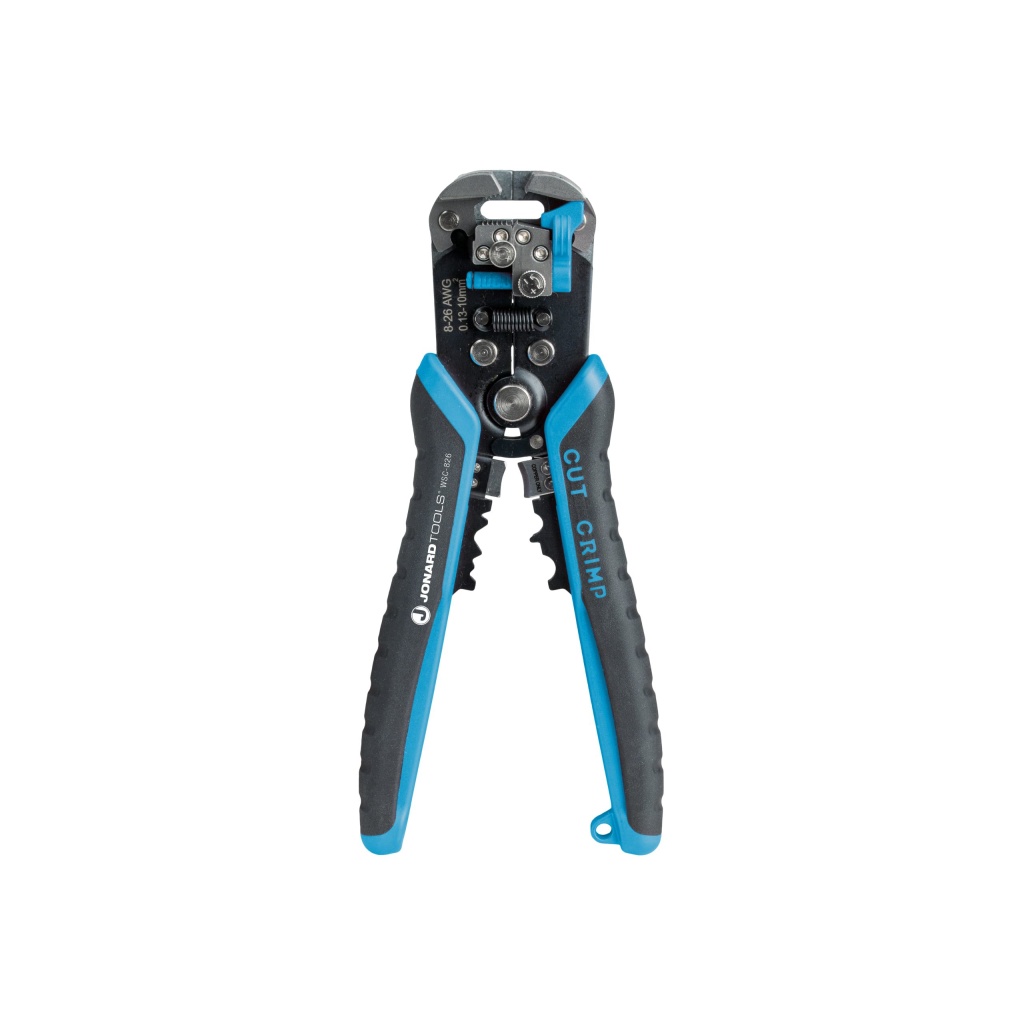
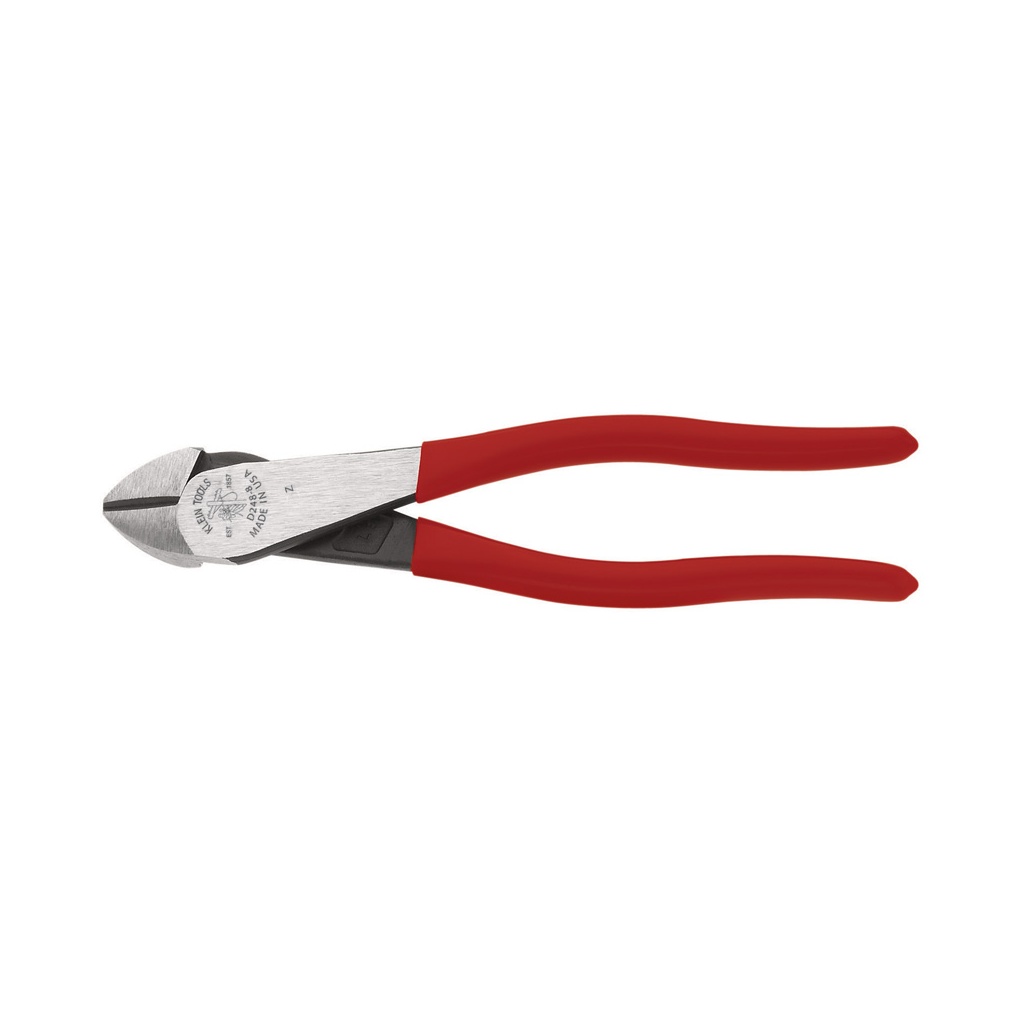
You’ll also need some basic tools, including a fiber stripper to remove the protective coating, a cleaver for precise cutting of the optical fiber, a splicing device to join two fibers, and fiber optic connectors to link the cables to devices. Additionally, protective gear like gloves and safety glasses are recommended.
Be Your Own Technician: DIY Fiber Optic Installation Guide
With a solid understanding of fiber optic technology and the necessary tools at your disposal, you’re ready to tackle the installation process.
Planning Your Network
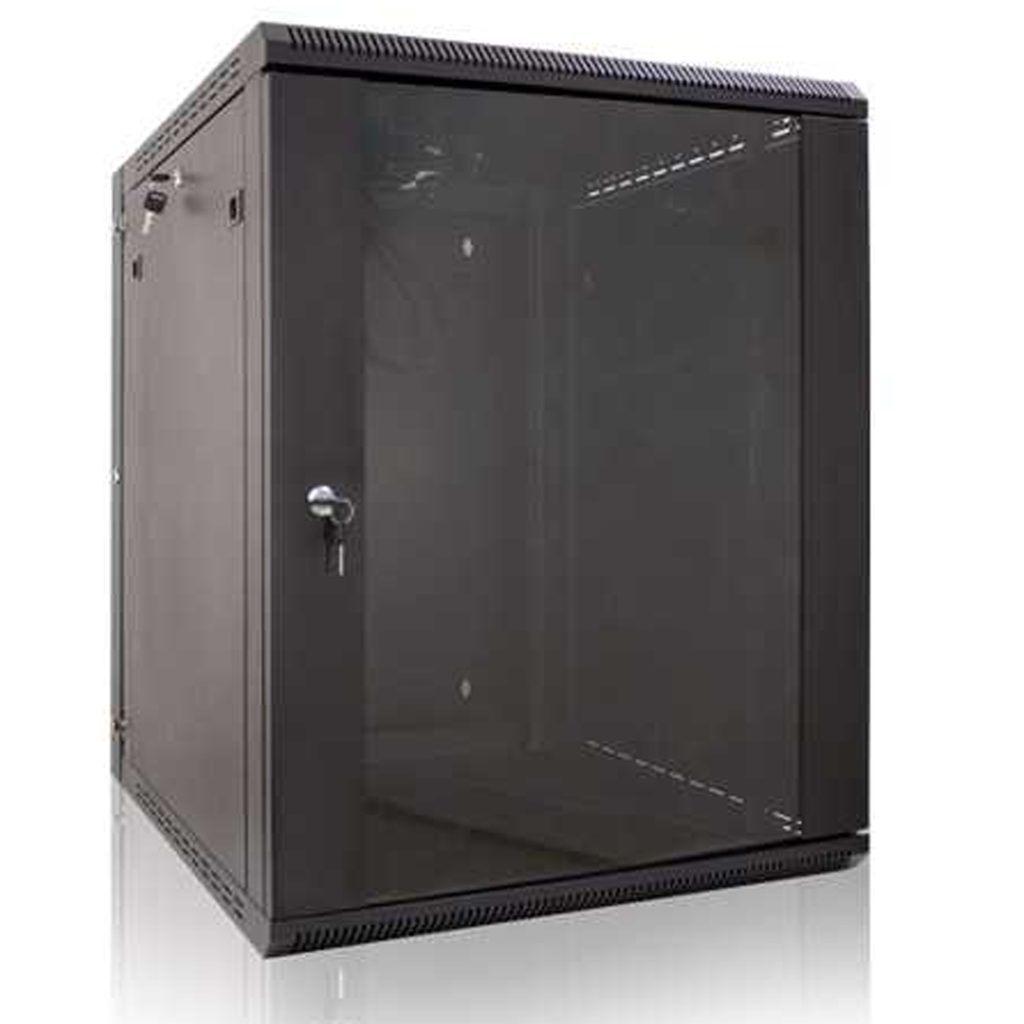
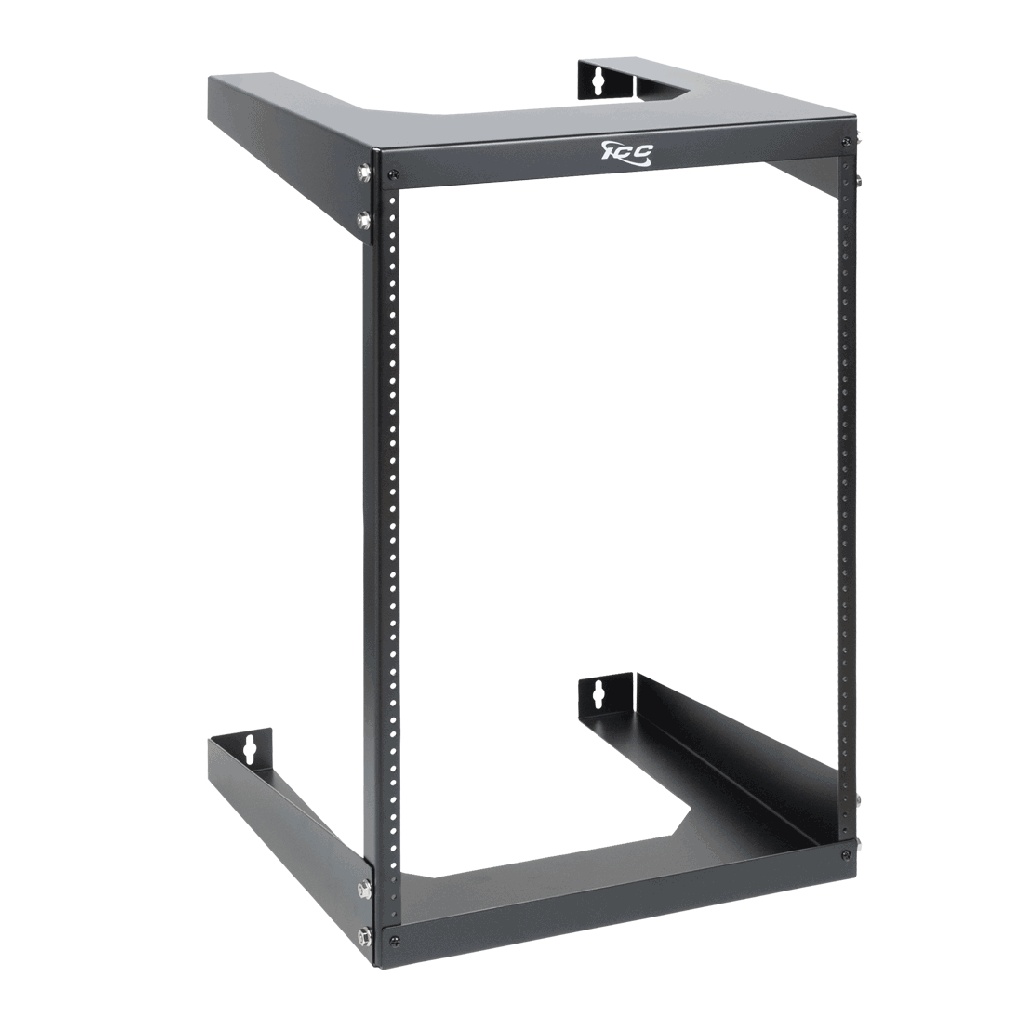
Every great installation starts with a detailed plan. This includes a blueprint of your property, outlining where the cables will run, where the equipment will be housed, and any potential obstacles that could affect cable placement.
Cable Installation
Once your plan is in place, the next step is to lay your cable. This includes drilling holes, running cables through walls or conduit, and securing the cable every few feet to avoid sagging or bending. Remember, fiber optics are delicate, and excessive bending or pulling can damage the fibers.
Connecting and Testing
After your cables are laid out, you’ll connect them to your networking equipment using the fiber optic connectors. Once everything is connected, it’s crucial to test the network to ensure the signal is being transmitted effectively.
Avoiding Common Pitfalls in Fiber Optic Installation
Fiber optic installation can be tricky, but being aware of common pitfalls can save you a world of frustration.
Handling Fiber Optic Cables
Optical fibers are delicate and can easily be damaged by bending, twisting, or pulling too hard during installation. Always handle them with care and follow the manufacturer’s bending radius specifications.
Testing the System
Don’t forget to test your system once the installation process is complete. Use an optical power meter to measure light power output and ensure your system is operating at optimal efficiency.
FAQs
1. How does fiber optic technology work? Fiber optic technology works by transmitting data as pulses of light through thin strands of glass or plastic.
2. What are the advantages of fiber optic cables over traditional copper cables? Fiber optic cables offer higher bandwidth, better durability, and improved security compared to traditional copper cables.
3. What tools are needed for fiber optic cable installation? You’ll need fiber optic cables, a fiber stripper, a cleaver, a splicing device, and fiber optic connectors.
4. What precautions should I take when handling fiber optic cables? Ensure you don’t bend, twist, or pull the cables too hard during installation as it can lead to damage.
5. How do I test my fiber optic network after installation? You can use an optical power meter to measure the light power output and ensure your system is operating at optimal efficiency.
6. Can I install fiber optic cables myself? Yes, with the right tools and guidance, you can certainly install fiber optic cables yourself. Remember, precision and patience are key to a successful installation.
Conclusion
In today’s digital age, understanding and being able to implement your own fiber optic installation can be a game-changer. It’s an empowering journey that gives you control over your network infrastructure while also saving costs. As with any DIY project, remember that preparation is key and practice makes perfect. Good luck on your journey to becoming your own technician!