


A Comprehensive Guide to 1/4″ Connectors
Unraveling the Basics of 1/4″ Connectors
Types of 1/4″ Connectors
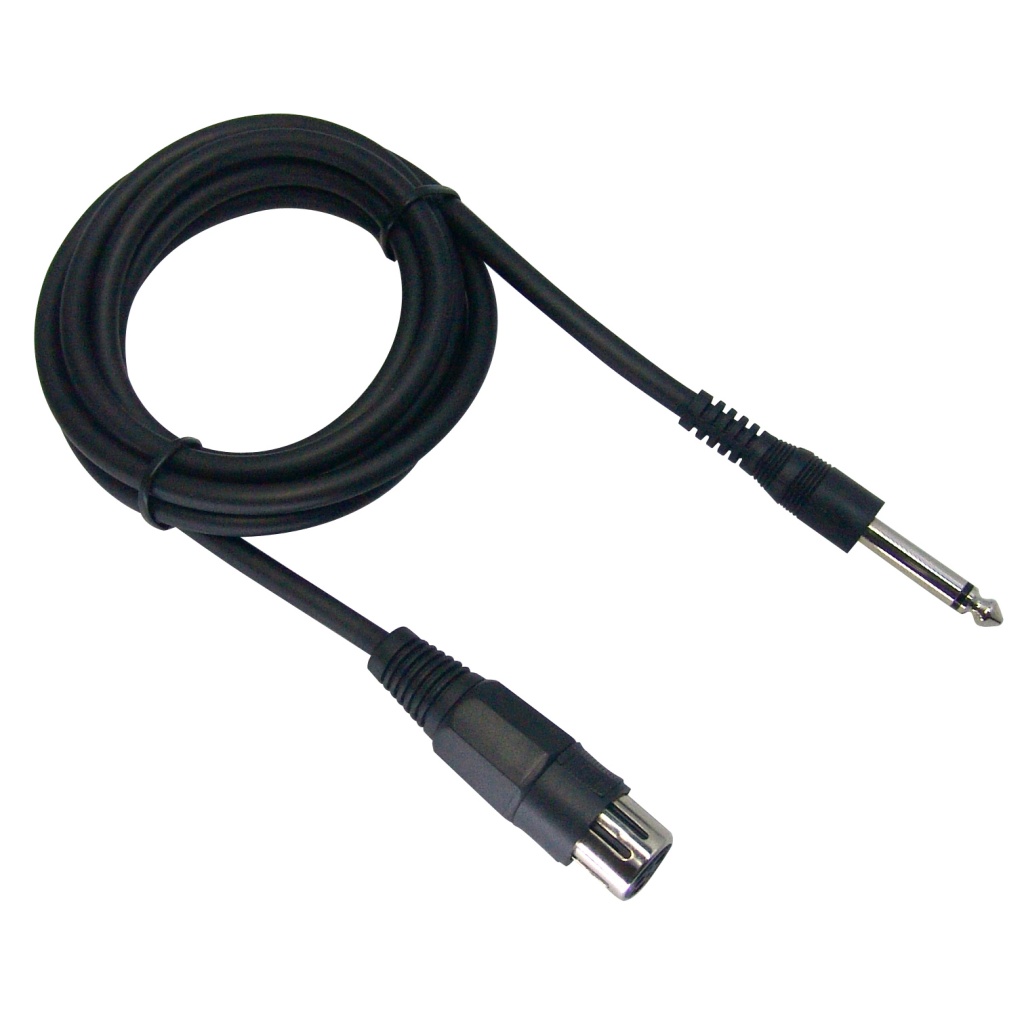
1/4″ connectors, often referred to as “phone jacks,” come in three main varieties – TS (Tip Sleeve), TRS (Tip Ring Sleeve), and TRRS (Tip Ring Ring Sleeve). Each type is distinguished by the number of conductors they have, with TS being the simplest (with two conductors) and TRRS being the most complex (with four conductors).
The TS connectors are mostly used for mono audio signals and guitar cables, while the TRS connectors are utilized for stereo signals or balanced mono audio signals. The TRRS, on the other hand, is more commonly seen in consumer electronics, supporting stereo audio along with a microphone line.
Importance of 1/4″ Connectors in Audio Equipment
Imagine you have the world’s best guitar, amplifier, and an audience waiting to hear your soul-stirring performance. But, you miss one vital element – a cable with 1/4″ connectors. Such a simple component, yet it holds the power to make or break your performance.
1/4″ connectors, owing to their larger size and durability, are the most commonly used audio connectors in professional audio equipment. Their wide usage in amplifiers, musical instruments, studio gear, and various other audio devices cements their importance in the audio industry.
Delving into the Anatomy of 1/4″ Connectors
The Three Crucial Parts of a 1/4″ Connector
A 1/4″ connector is an incredibly simple yet effective piece of engineering. It consists of three main parts: the tip, the sleeve, and (in the case of TRS and TRRS) one or more rings. These parts are crucial in transferring audio signals.
The tip carries the primary audio signal. In a stereo setup, it usually carries the left channel. The ring, present in TRS and TRRS connectors, carries additional audio signals – right audio channel in stereo setups or a balanced audio signal in professional settings. Finally, the sleeve serves as a common ground.
Materials Used in the Construction of 1/4″ Connectors
When it comes to the material of 1/4″ connectors, most are made with a combination of metal and plastic. The tip, ring, and sleeve are typically composed of metal (often nickel or gold-plated) to facilitate effective signal transmission, while the body is usually plastic. Gold-plated connectors are highly sought after due to their superior resistance to corrosion, ensuring long-lasting performance.
The Different Roles of 1/4″ Connectors in Audio Gear
Role in Amplifiers
1/4″ connectors play an integral part in amplifiers, serving as the connection point for speakers and instruments. Whether it’s a guitar amp or a stereo system, you will likely find one or more 1/4″ jacks on the device.
Role in Musical Instruments
From electric guitars to synthesizers, 1/4″ connectors are the standard for connecting instruments to amplifiers, effects pedals, and other sound gear. Their robustness and reliable signal transmission make them ideal for this purpose.
Role in Studio Equipment
In professional audio setups, 1/4″ connectors are often found in mixers, audio interfaces, and studio monitors. They are typically used for balanced connections, reducing interference and noise, crucial for maintaining audio quality in a studio environment.
Installation Guide for 1/4″ Connectors
How to Attach a 1/4″ Connector to a Cable
Adding a 1/4″ connector to a cable may seem daunting, but it’s not rocket science. You’ll need a soldering iron, solder, a 1/4″ connector, and the cable you wish to modify. Once you have all your tools ready, follow these steps:
- Strip the cable: Use a wire stripper to expose the inner wires of the cable. Be careful not to cut the inner wires while doing this.
- Tin the wires: Apply a small amount of solder to the exposed wires. This process is called tinning and it prepares the wires for the next step.
- Solder the wires to the connector: Carefully solder the wires to the appropriate parts of the connector. The specifics may vary depending on the type of connector and cable.
- Assemble the connector: Once the soldering is complete and cooled, assemble the rest of the connector. This typically involves screwing the casing onto the soldered connector.
Safety Precautions to Follow
While installing a 1/4″ connector might seem like a fun DIY project, remember that safety comes first. Always work in a well-ventilated space while soldering, wear eye protection, and be mindful of the hot soldering iron. If you’re new to soldering, consider practicing on a scrap piece of wire first.
Troubleshooting 1/4″ Connectors
Common Problems and Their Solutions
While 1/4″ connectors are robust, they’re not immune to issues. The most common problem you might face is a lack of sound, usually due to a loose connection or a broken wire within the cable. In such cases, checking the connector for any signs of damage, ensuring it’s properly inserted into the jack, and testing the cable with a multimeter can help diagnose the problem.
Maintaining Your 1/4″ Connectors
Proper maintenance of your 1/4″ connectors can save you from a lot of hassle in the long run. Simple practices like avoiding forceful yanks from the cable, keeping the connectors clean, and properly coiling the cable for storage can significantly prolong the life of your connectors.
The Evolution of 1/4″ Connectors
A Look into the Past
The 1/4″ connector has a rich history, dating back to the late 19th century. It was originally used for switchboard operators to manually connect calls. Over the years, it’s evolved into a staple in the audio world, used in everything from telephones to top-notch studio gear.
Future Prospects of 1/4″ Connectors
While new technologies and connectors continue to emerge, the 1/4″ connector isn’t going anywhere anytime soon. Its simplicity, reliability, and widespread acceptance in the audio industry ensure that it will continue to be used in audio applications for years to come.
1/4″ Connectors vs. Other Audio Connectors
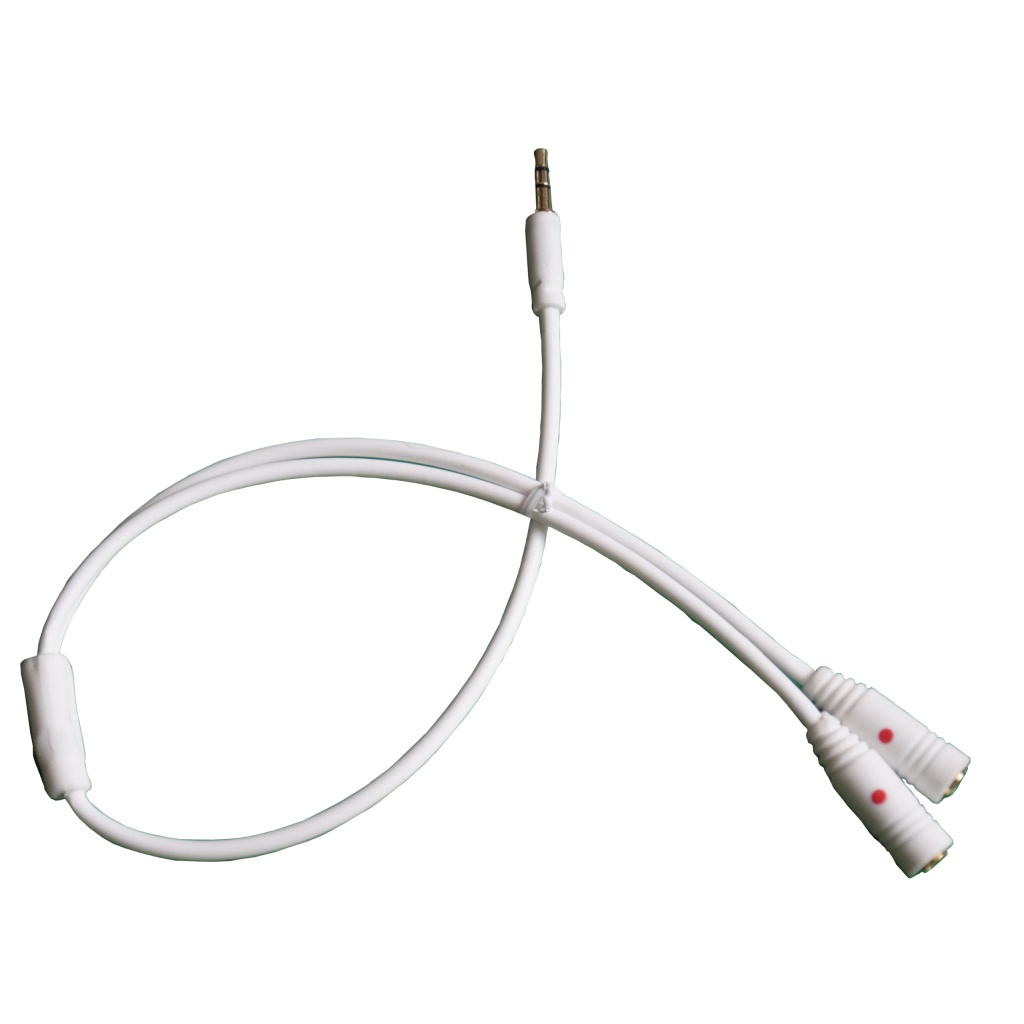
1/4″ vs. 3.5mm
At a glance, 1/4″ and 3.5mm connectors might look quite similar. But there’s more than meets the eye. 3.5mm connectors are generally found in consumer audio equipment, like headphones and mobile devices, owing to their compact size. On the other hand, 1/4″ connectors are more commonly found in professional audio gear due to their robustness and better signal integrity.
1/4″ vs. XLR
When it comes to balanced audio connections, both 1/4″ TRS and XLR connectors are widely used. While XLR connectors are preferred for microphones and high-end studio equipment due to their locking mechanism and superior shielding, 1/4″ TRS connectors are more prevalent in other audio equipment, such as mixers and amplifiers, due to their simplicity and compactness.
Where to Buy 1/4″ Connectors
Considerations Before Purchase
Before you run off to buy a 1/4″ connector, there are a few factors you should consider. These include the type of connector (TS, TRS, or TRRS), the quality of the materials used (especially the metal parts), the brand reputation, and customer reviews.
Recommendations for Best 1/4″ Connectors
There’s no shortage of places to buy 1/4″ connectors, both online and in physical stores. Popular online platforms include Amazon, Sweetwater, and B&H Photo Video. Some top-rated brands to consider are Neutrik, Hosa, and Mogami.
FAQs about 1/4″ Connectors
What’s the difference between TS and TRS connectors?
TS connectors, or Tip Sleeve connectors, are typically used for unbalanced mono signals. They have two conductors – the tip and the sleeve. On the other hand, TRS connectors, or Tip Ring Sleeve connectors, are used for balanced signals or stereo audio. They have three conductors – the tip, ring, and sleeve.
Can I use a 1/4″ connector for a microphone?
While it’s possible to use a 1/4″ TRS connector for a balanced microphone connection, XLR connectors are more commonly used for this purpose due to their superior shielding and locking mechanism.
Why does my 1/4″ connector crackle when I move the cable?
Crackling or intermittent sound usually indicates a loose connection within the connector or a break in the cable. You can try troubleshooting the problem by examining the connector for any signs of damage and testing the cable with a multimeter.
Can I replace a 3.5mm connector with a 1/4″ connector?
Yes, you can replace a 3.5mm connector with a 1/4″ connector using an adapter or by soldering a new connector to the cable. However, keep in mind that 1/4″ connectors are bulkier and may not be suitable for all applications.
How do I clean a 1/4″ connector?
To clean a 1/4″ connector, you can use a clean, dry cloth to remove any surface dirt. For stubborn grime or oxidation, you can use a contact cleaner specifically designed for electrical connections.
Are all 1/4″ connectors the same size?
Yes, all 1/4″ connectors are the same size in terms of the plug diameter (1/4″ or 6.35mm). However, they may vary in terms of length, the number of conductors (TS, TRS, TRRS), and the design of the casing.
Conclusion: A Comprehensive Guide to 1/4″ Connectors
When it comes to the world of audio connectors, the 1/4″ connector stands as a testament to the adage, “If it ain’t broke, don’t fix it.” Its simplicity, reliability, and robustness have ensured its place in audio gear for over a century, and it doesn’t look like it’s going anywhere soon. With this comprehensive guide, you’re now well-equipped to understand, choose, and troubleshoot 1/4″ connectors, so you can focus on what matters most – the sound.