


Installing a Wall Mount Fiber Enclosure: Complete Step-by-Step Guide
It’s time to venture into the world of fiber optics! But how? Well, one answer lies in the power of understanding how to install a wall mount fiber enclosure.
Installing a Wall Mount Fiber Enclosure: Step-by-Step Guide
Setting up your network involves numerous steps, but fear not! We’ve got a detailed guide to take you from zero to hero in no time flat. But before we dive in, let’s understand what a fiber enclosure is.
What is a Wall Mount Fiber Enclosure and why is it important?
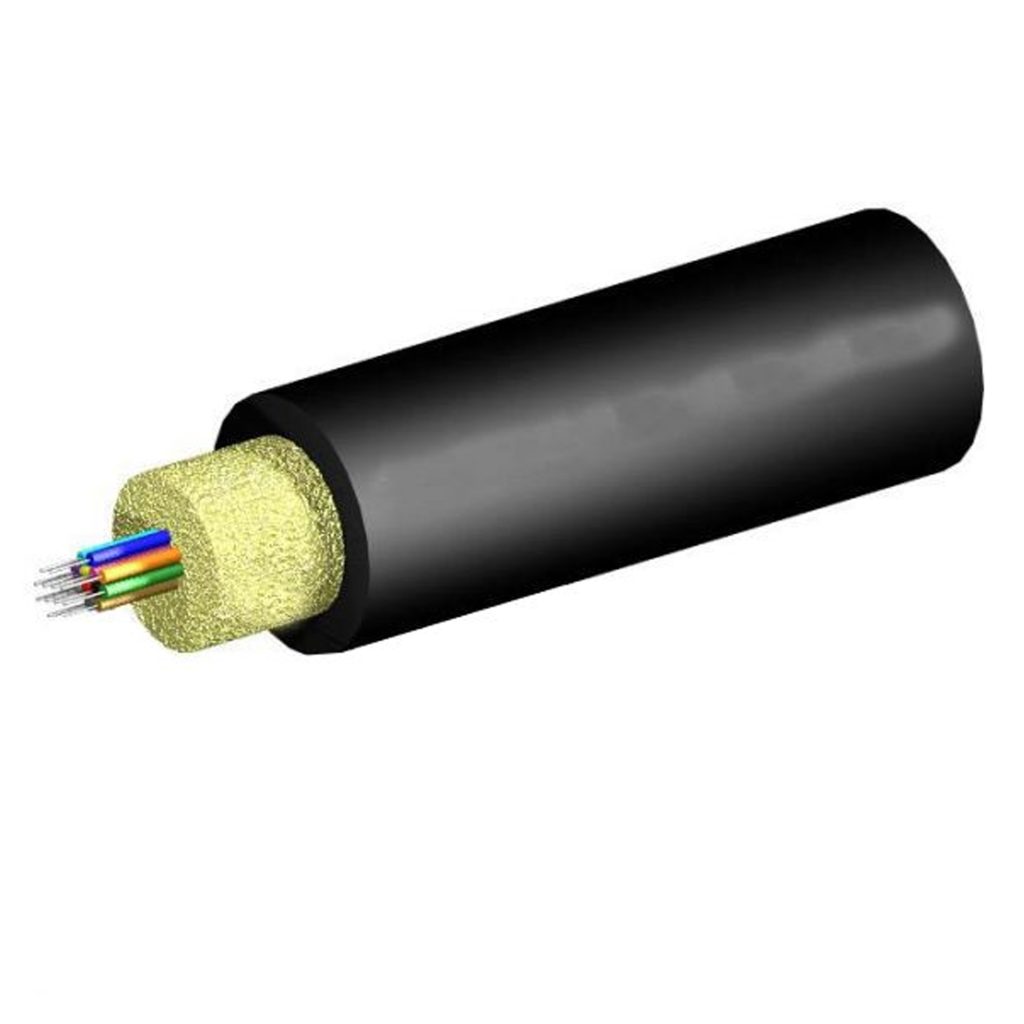
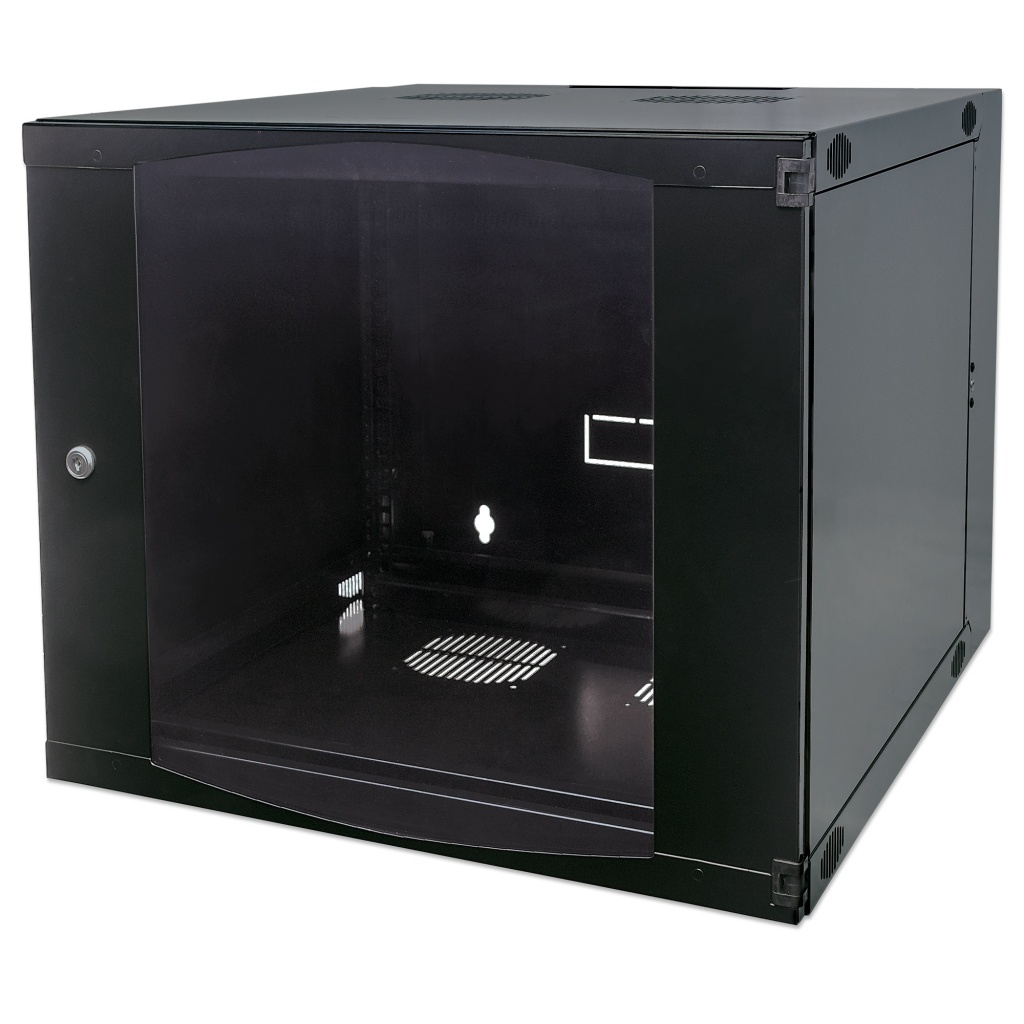
A wall mount fiber enclosure is an integral part of any high-speed internet setup. It is essentially a box designed to house and protect the fiber optic cables, which are delicate and crucial components of your network system. Properly installed, it can provide seamless network connectivity and save you from the pesky technical issues.
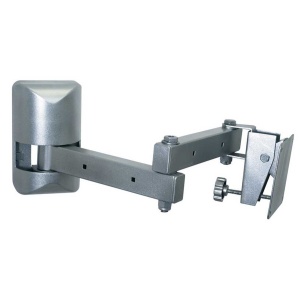
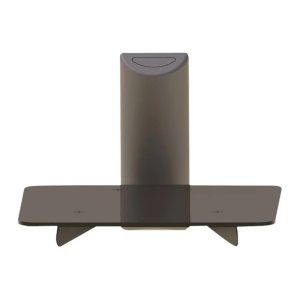
Choosing the Right Wall Mount Fiber Enclosure
Before you start drilling holes and pulling cables, it’s essential to select the right wall mount fiber enclosure. Consider factors like the number of fiber optic cables you’ll be housing, the location for the setup, and the network requirements. Let’s break down these factors to aid you in making the best decision.
Determining the Number of Fiber Optic Cables
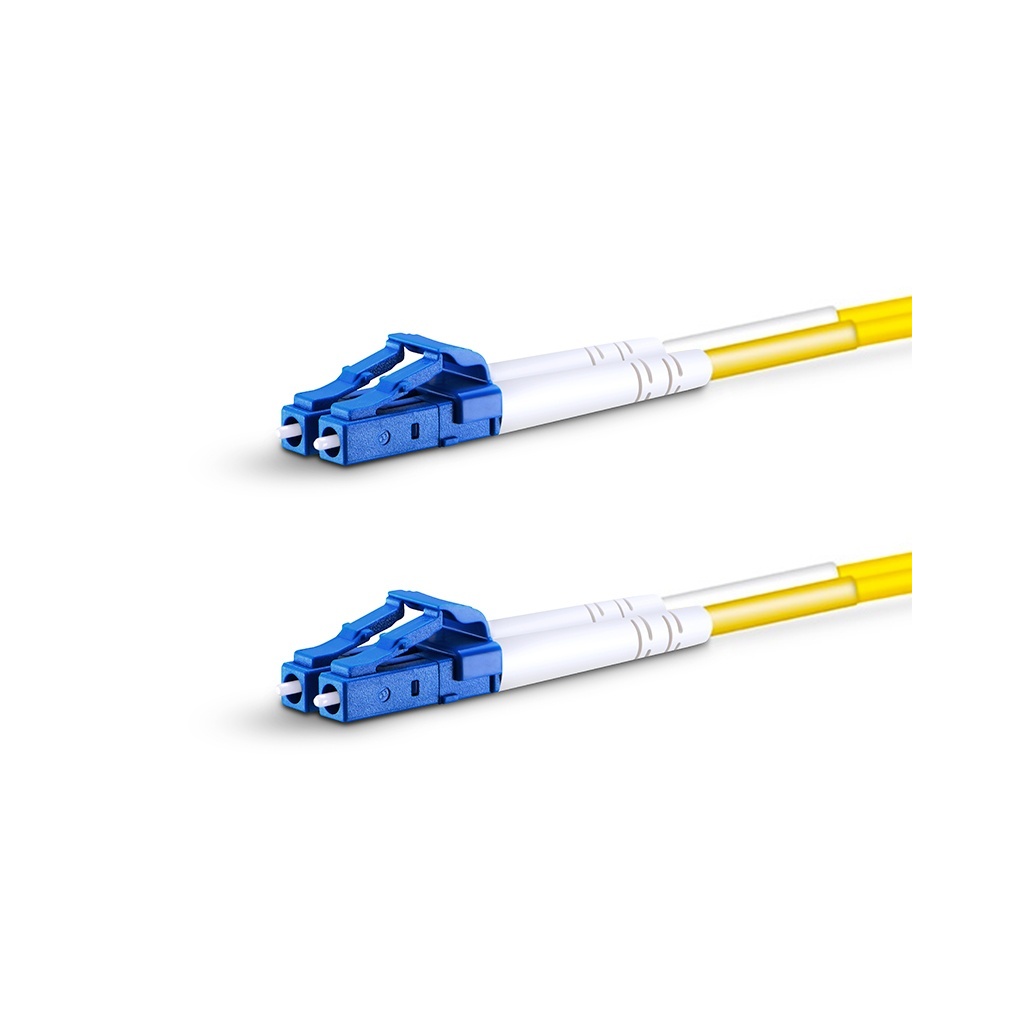
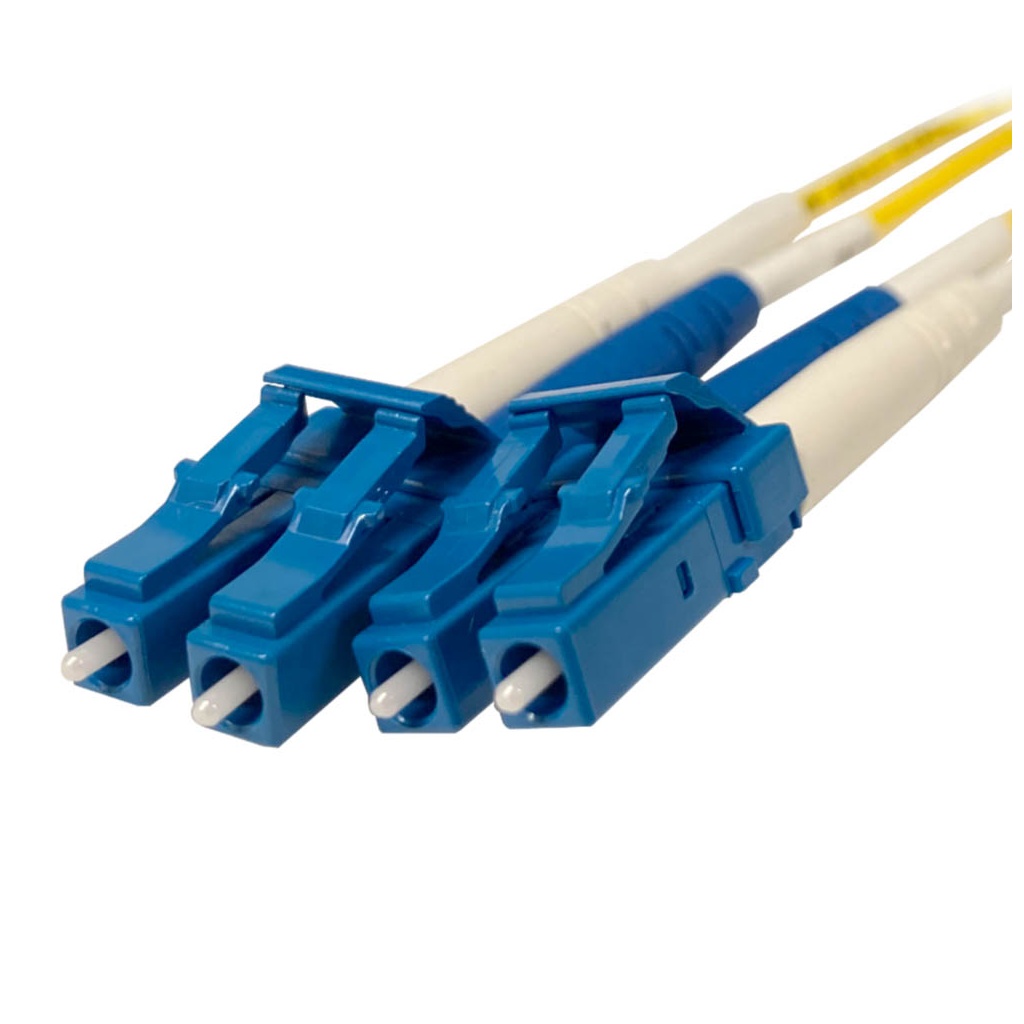
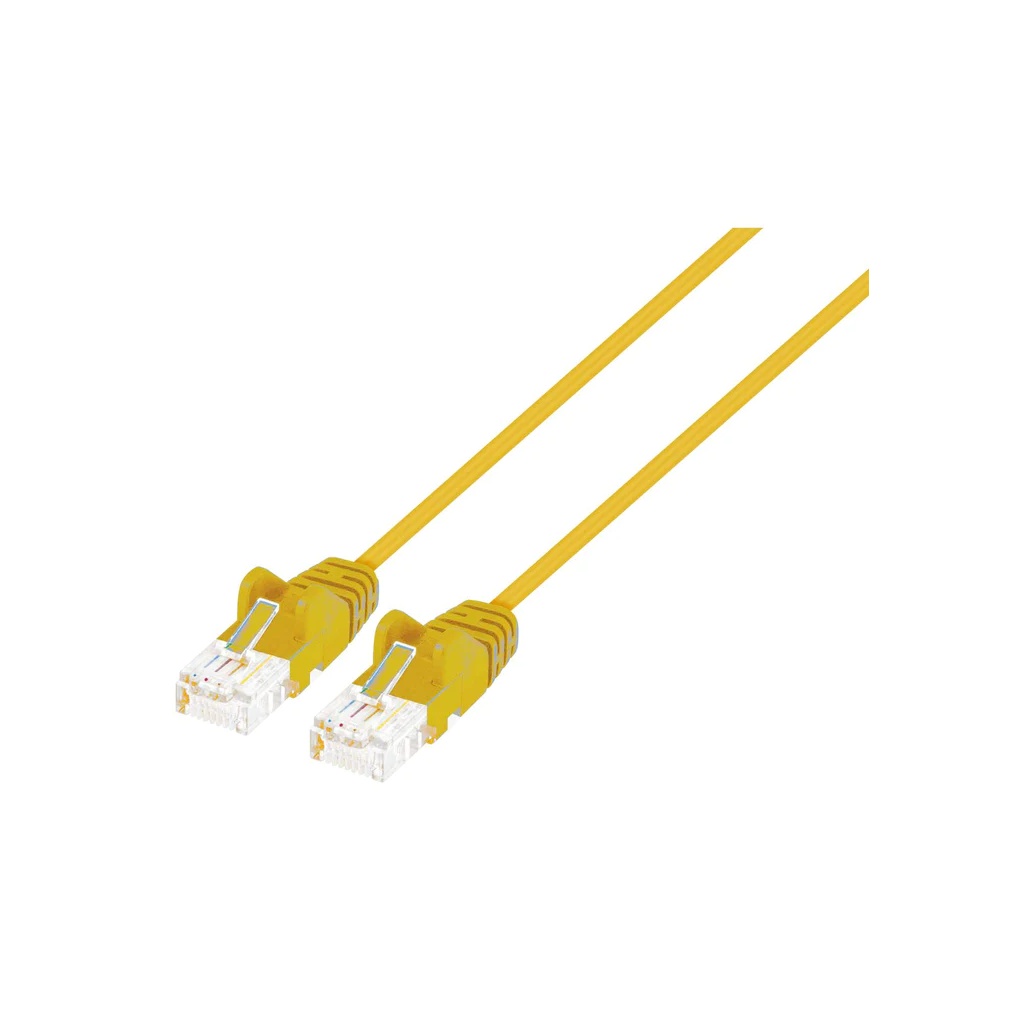
The number of fiber optic cables you’ll be using directly impacts the size and type of wall mount fiber enclosure you’ll need. Small-scale networks may only require a modest enclosure, while larger, more complex networks might need a heftier, more robust solution. It’s always a smart move to anticipate future needs to avoid frequent replacements.
Selecting the Ideal Location
When it comes to installing a wall mount fiber enclosure, location is key. It should be placed in a secure, easily accessible area, ensuring minimal disruption to your home or office. In addition, consider environmental factors like temperature and humidity, as these can affect the performance of your fiber optic cables.
Understanding Network Requirements
Every network has unique requirements, and your wall mount fiber enclosure should meet these. Consider the type of connectors, the network speed, and the type of fiber optic cable to ensure your enclosure suits your specific needs.
Getting Started: Tools for Installing a Wall Mount Fiber Enclosure
Once you’ve chosen the right wall mount fiber enclosure, it’s time to gather your tools. You’ll need a drill, screws, anchors, a level, and a stud finder. Having the right tools at your disposal can make the installation process a breeze.
Drill and Screws
The drill and screws will secure your wall mount fiber enclosure to the wall. Make sure your screws are of the right size to provide a secure fit.
Anchors
If you’re mounting the enclosure on drywall, you’ll need anchors to provide additional support. The anchors should be compatible with your screws and sturdy enough to handle the weight of the enclosure.
Level
A level is essential to ensure your wall mount fiber enclosure is installed straight. This is not just for aesthetic purposes; a misaligned enclosure could cause issues with cable management.
Stud Finder
A stud finder is a tool that helps you locate the studs in your wall. It’s always recommended to mount heavy objects onstuds to provide extra stability and prevent damage to your wall.
The Installation Process: A Step-by-Step Guide
Ready to tackle the task of installing a wall mount fiber enclosure? Strap on your tool belt, because we’re going on a step-by-step journey.
Step 1: Marking the Spot
After selecting the ideal location, use your level and a pencil to mark the spot where you’ll install the enclosure. Make sure you’ve got it straight – remember, it’s not just about looks, it’s about functionality too.
Step 2: Finding the Studs
Use your stud finder to locate the studs in the area where you plan to mount your fiber enclosure. Remember, you want to ensure the most secure installation possible, and that means mounting directly into these studs.
Step 3: Drilling the Holes
Next, use your drill to make holes in the marked spots. If you’re drilling into drywall, this is when you’ll insert your anchors.
Step 4: Mounting the Enclosure
Now it’s time to mount the enclosure. Align the mounting holes with your pre-drilled holes, and use your screws to secure it to the wall. Check with the level once again to ensure the enclosure is straight.
Step 5: Running the Cables
Finally, run your fiber optic cables into the enclosure, following the manufacturer’s guidelines for proper cable management. Be sure to take your time with this step, as the neatness of your cable management can significantly impact your network’s performance.
Post-Installation Tips and Tricks
After installing your wall mount fiber enclosure, it’s essential to keep it well-maintained to ensure optimal network performance. Here are some tips and tricks to keep your setup running smoothly.
Regular Cleaning
Keep your fiber enclosure free of dust and debris to ensure the longevity of your equipment. Use a soft brush or canned air for cleaning.
Periodic Inspection
Inspect your fiber enclosure periodically to ensure there are no loose connections or signs of damage. Immediate attention to any issues can prevent more significant problems down the line.
Proper Cable Management
Keep your cables neat and organized. This not only improves the aesthetics but also makes it easier to troubleshoot any issues that may arise.
FAQs about Installing a Wall Mount Fiber Enclosure
Q1: Can I install a wall mount fiber enclosure myself?
Yes, with the right tools and a little patience, you can install a wall mount fiber enclosure yourself. This guide provides all the information you need to get started.
Q2: What if I can’t find the studs in my wall?
If you can’t locate the studs, use robust wall anchors designed for drywall. This provides additional support to the enclosure.
Q3: How often should I clean my fiber enclosure?
It depends on the environment. However, a general rule of thumb is to clean it every six months to keep it free from dust and debris.
Q4: Can I use any fiber enclosure for my network?
Not necessarily. It’s essential to choose a fiber enclosure that suits your network requirements, the number of cables, and the location where you plan to install it.
Q5: What should I do if my fiber enclosure gets damaged?
If your fiber enclosure gets damaged, it’s best to replace it immediately to prevent any network issues.
Q6: What are the benefits of using a wall mount fiber enclosure?
A wall mount fiber enclosure provides a secure, organized place for your fiber optic cables. It also helps protect the cables from physical damage, dust, and other environmental factors, enhancing your network’s performance and longevity.
Conclusion
Installing a wall mount fiber enclosure might seem like a daunting task, but with this step-by-step guide, you’re well on your way to enhancing your network setup. From choosing the right enclosure to the actual installation and maintenance, we’ve got you covered. Remember, patience is key, and don’t hesitate to ask for help if you need it. Here’s to efficient and seamless network connectivity!